

TL;DR:
- Importing a properly formatted SRT file into Premiere Pro creates a styled caption track quickly for web or social delivery. To ensure success, verify the file’s encoding is UTF-8 without BOM and timestamps follow the proper format before importing. Choosing the Subtitle format at the caption creation stage offers the most styling flexibility and compatibility across platforms.
Drag your .srt file directly into the Premiere Pro Project panel (or use File > Import, Ctrl/Cmd+I), then drag it onto the timeline. When the Create Caption Track dialog appears, set Format to Subtitle for full styling control. That single sequence gets you a working caption track in under a minute.
- Fastest method: Drag the
.srtfrom your desktop into the Project panel. No menus needed. - Menu method: File > Import (Ctrl/Cmd+I), select the
.srt, click Open. - Format choice: Pick Subtitle (not a broadcast closed-caption format) when delivering to YouTube, social, or web. It gives you the most styling flexibility.
- Timeline result: Premiere places captions on a dedicated C1 track above your video, automatically timed to the SRT timestamps.
If Premiere rejects the file entirely, the issue is almost always encoding or a malformed timestamp. Jump to the troubleshooting section below.
Table of Contents
- Quick checklist to import SRT files in Premiere Pro
- How to import an SRT file step by step
- Which caption format should you choose at import?
- How to edit and style subtitles in Premiere Pro
- How to preview captions in the Program Monitor
- How to export subtitles from Premiere Pro
- Troubleshooting common SRT import problems
- When should you generate SRT files externally?
- Key Takeaways
- The subtitle habit most editors skip
- Get a clean SRT before you even open Premiere Pro
- Useful sources
- FAQ
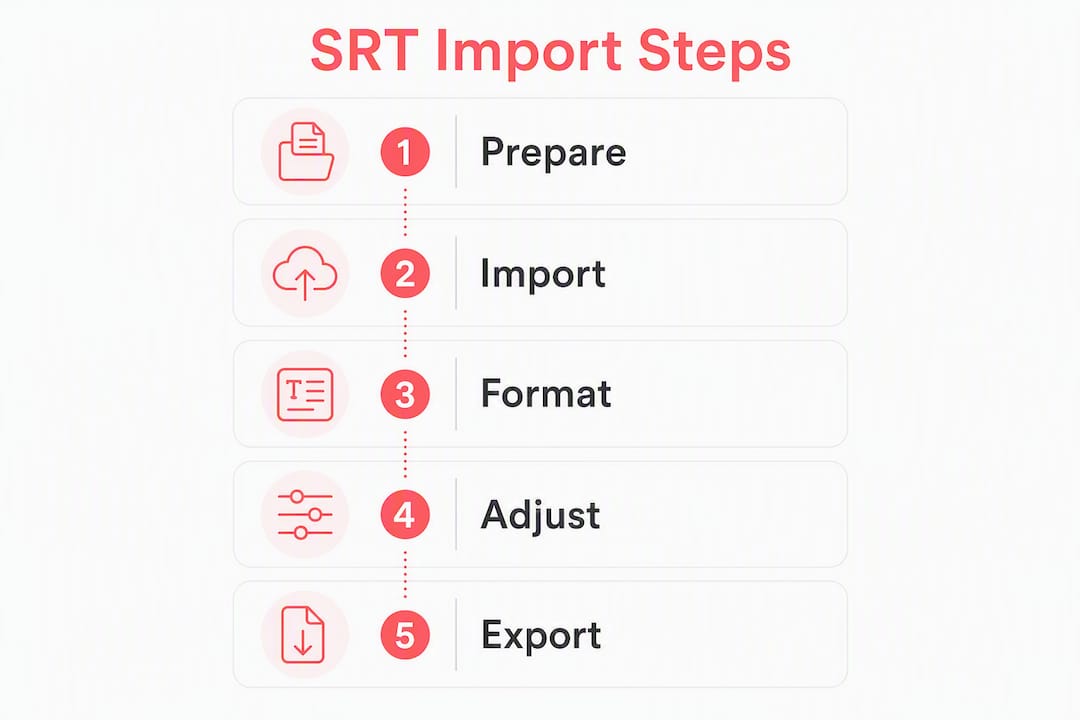
Quick checklist to import SRT files in Premiere Pro
- Validate your SRT. Open it in a plain text editor (Notepad, TextEdit, VS Code) and confirm it is saved as UTF-8 without BOM. Check that timestamps follow the format
00:00:00,000 --> 00:00:03,500. - Import the file. Drag the
.srtinto the Project panel, or use File > Import. - Drag onto the timeline. Drop the SRT clip above your video track. The Create Caption Track dialog opens automatically.
- Set Format to Subtitle, Start Point to Source Timecode. Source Timecode preserves the original timing; Playhead offsets captions to wherever your playhead sits.
- Style globally. Open the Text panel (Window > Text) or Essential Graphics panel and apply font, size, color, and background to all caption clips at once.
- Export. Use Cmd/Ctrl+M, go to the Captions tab, and choose Create Sidecar File (for YouTube) or Burn Captions Into Video (for Instagram or TikTok).
Pro Tip: Wait until picture lock before applying subtitles. Any cut that shifts timing after captions are placed means manual re-sync work. Keep your original .srt file intact as a backup throughout the edit.
Premiere’s built-in Speech-to-Text is fast for clean English audio, but for noisy recordings or non-English content, generating an SRT externally first and then importing it produces a cleaner result.
How to import an SRT file step by step
Method 1: Drag and drop
- Locate your
.srtfile in Finder or File Explorer. - Drag it directly into the Project panel in Premiere Pro. It appears as a clip with a caption icon.
- Drag that clip from the Project panel onto the timeline, above your video track.
- The Create Caption Track dialog opens.
Method 2: File > Import
- Go to File > Import (Ctrl/Cmd+I).
- Navigate to your
.srtfile, select it, and click Open. - The file appears in the Project panel. Drag it to the timeline as above.
Method 3: Captions panel import
If you are working from the Captions panel, open the panel menu and choose Import > Import Static Transcript. This path works well for collaboration workflows where a transcript file is passed between team members rather than a standalone SRT.

The Create Caption Track dialog
Once you drop the SRT onto the timeline, Premiere opens this dialog automatically. Three settings matter:
- Format: Choose Subtitle for web and social delivery. Broadcast formats (CEA-608, CEA-708) follow specific technical standards required for broadcast TV; use them only when the delivery spec calls for it.
- Start Point: Source Timecode keeps the SRT’s original timing. Playhead places the first caption wherever your playhead sits, which is useful only when the SRT has no embedded timecode.
- Style: You can assign a caption preset here or leave it at default and style everything later in the Text panel.
After confirming, Premiere creates a dedicated caption track labeled C1 on the timeline, with each subtitle as its own clip.
Which caption format should you choose at import?
The format you pick at the Create Caption Track dialog controls both how captions display and what export options you get later.
- Subtitle: The right choice for YouTube, Vimeo, social media, and most web deliveries. Gives you full control over font, size, color, background, and position via the Text or Essential Graphics panel. Selecting Subtitle lets you style all subtitle clips simultaneously.
- CEA-608 / CEA-708: Required for broadcast television and some streaming platforms with accessibility mandates. These formats follow strict technical standards and limit styling options. Use them only when your delivery spec explicitly requires them.
- Teletext / OP-47: European broadcast standards. Rarely needed for US web content.
For most editors delivering to digital platforms, Subtitle is the correct default. Set it once at import and you will not need to convert later.
Pro Tip: For accessibility, keep text contrast at a minimum 4.5:1 ratio against the background (the WCAG AA standard). A semi-transparent black background box behind white text at 18–24pt is the most reliable combination across varied video backgrounds.
How to edit and style subtitles in Premiere Pro
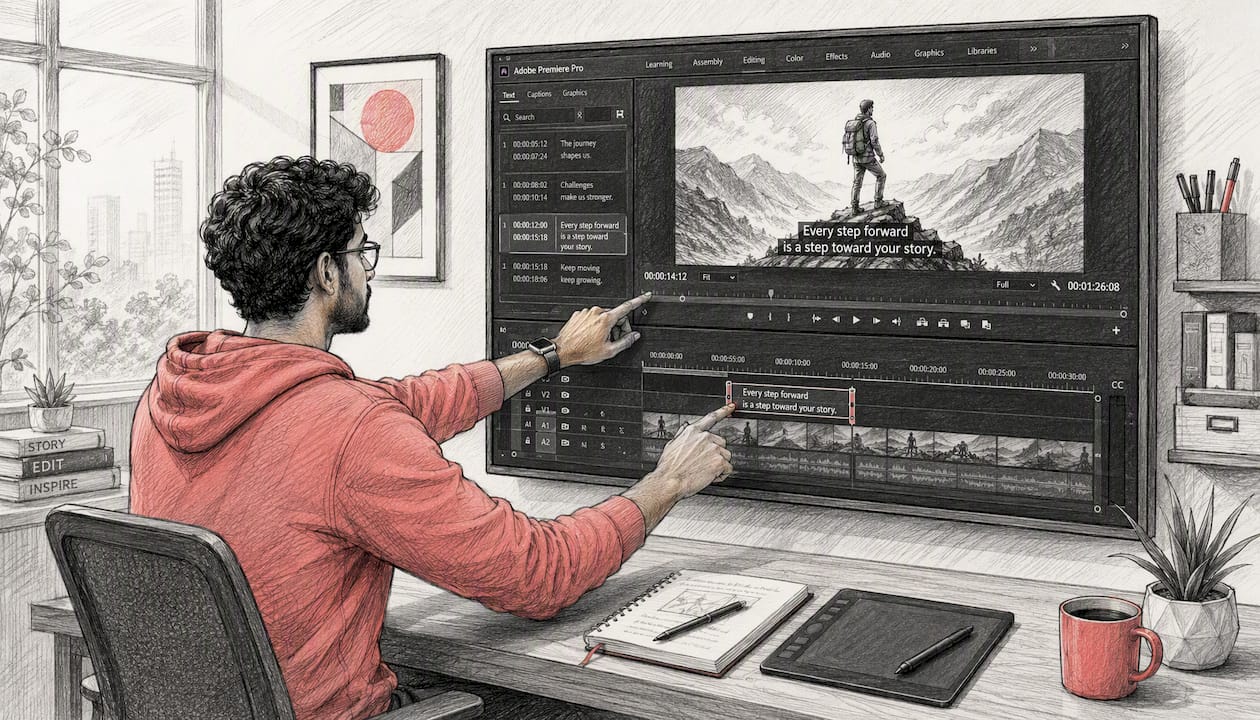
Open the Text panel (Window > Text) to see every caption clip listed in sequence. Click any entry to jump to it on the timeline. From here you can:
- Edit the text directly in the panel.
- Adjust in and out points by trimming the caption clip on the timeline, just like a video clip.
- Split a long caption into two by placing the playhead mid-clip and pressing Ctrl/Cmd+K.
Applying a global style
- In the Text panel, select all caption clips (Ctrl/Cmd+A).
- Open the Essential Graphics panel (Window > Essential Graphics).
- Set your font, size, color, and background opacity. Changes apply to every selected clip.
Style checklist before export:
- Line length: Aim for no more than 42 characters per line to keep text readable on mobile screens.
- Two-line wrap: Keep subtitles to two lines maximum. Three-line captions cover too much of the frame.
- Safe margins: Keep text within the title-safe zone (roughly 10% from each edge).
- Color contrast: White text on a dark semi-transparent background works across almost any video content.
Pro Tip: If you need per-shot positioning or custom animation on individual captions, convert the caption track to graphics via Right-click > Upgrade Captions to Graphics. Note that once converted, you lose the caption track structure and cannot export a sidecar SRT from those clips.
How to preview captions in the Program Monitor
Captions do not always display by default in the Program Monitor. To turn on caption display:
- Click the wrench icon (Settings) in the Program Monitor.
- Select Closed Captions Display > Enable.
- Choose the correct caption stream if you have multiple tracks.
Quick preview checklist:
- Track visibility: Confirm the C1 track eye icon is on in the timeline.
- Monitor scaling: If you are working at a reduced playback resolution, captions may appear pixelated. Switch to Full quality for a final check.
- Caption stream: If captions are not showing, verify the correct stream is selected under the wrench menu.
- Platform test: Before publishing, upload a test export to YouTube or your target platform and verify captions load and display correctly there. Premiere’s preview is accurate but not identical to every player’s rendering.
How to export subtitles from Premiere Pro
Open the Export dialog with Cmd/Ctrl+M, then click the Captions tab.
- Under File Format, confirm your video codec is set correctly.
- In the Captions tab, choose your export method:
- Create Sidecar File: Exports the captions as a separate file alongside the video. Choose SRT, SCC, or MXF depending on the destination.
- Burn Captions Into Video: Bakes the text permanently into the video frames. No separate file is created.
- Click Export.
| Destination | Recommended export method | Format |
|---|---|---|
| YouTube | Create Sidecar File | SRT |
| Vimeo | Create Sidecar File | SRT or VTT |
| Instagram / TikTok | Burn Captions Into Video | N/A (baked in) |
| Broadcast TV | Create Sidecar File | SCC (CEA-608) |
| Accessibility archive | Create Sidecar File | SRT |
Sidecar files keep captions toggleable, which is the right choice for YouTube where viewers can turn them on or off. Burned-in captions are permanent, which suits platforms that do not support external subtitle files.
Pro Tip: After exporting a sidecar SRT, test it locally before uploading. Rename the SRT to match the video filename exactly and place both in the same folder. Media players like VLC will load the SRT automatically, letting you verify timing and text without uploading to a live platform.
Troubleshooting common SRT import problems
Most import failures trace back to one of four causes:
- “File format not supported” error: The SRT has invisible formatting errors or incorrect encoding. Open it in a plain text editor and re-save as UTF-8 without BOM. Notepad++ on Windows makes this straightforward: Encoding > Convert to UTF-8 (without BOM).
- UTF-8 BOM issues: A byte-order mark at the start of the file breaks Premiere’s parser. Re-saving without BOM, as above, fixes this in most cases.
- Malformed timestamps: Premiere requires the exact format
00:00:00,000 --> 00:00:03,500with a comma as the millisecond separator. A period instead of a comma, or missing sequence numbers, will cause an empty or failed import. - Zipped SRT files: Premiere cannot import a compressed archive. Unzip the file first, then import the raw
.srt.
If the file still fails after those checks, run it through a subtitle converter that rewrites the structure entirely. This forces correct line endings and encoding without requiring you to manually edit timestamp code.
Fixing timing drift
If captions import successfully but are offset from the audio:
- Check whether you used Source Timecode or Playhead at import. Source Timecode is almost always correct.
- If the entire track is offset by a fixed amount, select all caption clips on the C1 track and nudge them together using the Selection tool.
- If the drift increases over time (gradual desync), the SRT’s frame rate does not match the sequence. Re-export the SRT from the source tool at the correct frame rate.
Pro Tip: If Premiere rejects a file repeatedly despite correct encoding, force a full structure rewrite by importing the SRT into a subtitle editor and re-exporting it. This clears any hidden characters or non-standard line endings that text editors may not display.
When should you generate SRT files externally?
Premiere’s Speech-to-Text is convenient for clean English audio. It runs inside the app and produces a caption track you can edit immediately. The trade-off: it requires an internet connection and accuracy drops with heavy accents, background noise, or non-English speech.
External SRT generation is the better path when:
- The audio has significant background noise or music.
- The speaker has a strong accent or speaks a language other than English.
- You need high accuracy for legal, medical, or educational content.
- You are handling multiple languages in one project.
For those cases, export the audio from Premiere, run it through a specialized transcription model, clean the resulting SRT, and then import it back using the steps above. You can compare transcription model accuracy across languages and audio conditions before committing to a workflow.
Pro Tip: Keep the original SRT file until all deliverables are finalized. If picture lock shifts or a client requests a translated version, the original SRT is your source of truth. Rebuilding timing from scratch costs far more time than preserving a 10KB text file.
Key Takeaways
Importing SRT into Premiere Pro takes under two minutes when the file is properly encoded and you select Subtitle format at the Create Caption Track dialog.
| Point | Details |
|---|---|
| Import method | Drag the .srt into the Project panel or use File > Import; both create the same C1 caption track. |
| Format choice | Always choose Subtitle at the Create Caption Track dialog for web and social delivery; it gives full styling control. |
| Style globally | Select all caption clips in the Text panel and apply font, size, and color once via Essential Graphics. |
| Export by platform | Use Create Sidecar File (SRT) for YouTube; use Burn Captions Into Video for Instagram and TikTok. |
| Youtubetotranscript | Use Youtubetotranscript to generate a clean SRT from any YouTube video before importing into Premiere Pro. |
The subtitle habit most editors skip
The biggest time-waster in subtitle workflows is not a technical problem. It is timing. Editors who apply subtitles before picture lock routinely redo the work when a client requests a cut change or a sequence gets restructured. The SRT timestamps become wrong, the caption track drifts, and what should be a 10-minute task turns into an hour of manual nudging.
The second mistake is burning captions into a video before confirming the delivery spec. Burned-in captions are permanent. If a platform later requires a sidecar file, or a client wants a clean version for a different market, you are back to square one. Exporting a sidecar SRT costs nothing extra and preserves every option.
One more thing: the Subtitle format is almost always the right choice for digital delivery, but editors sometimes default to CEA-608 out of habit from broadcast work. On YouTube or social platforms, CEA-608 captions can display inconsistently depending on the player. Subtitle format renders predictably across web players and gives you the styling control to meet accessibility contrast standards without fighting the format’s limitations.
Get a clean SRT before you even open Premiere Pro
The fastest way to start the Premiere subtitle workflow is to arrive with a well-structured SRT already in hand. Youtubetotranscript converts any YouTube video into a downloadable SRT file in seconds, using AI transcription that works even on videos without existing subtitles. It supports 89+ languages, so non-English content is not a barrier, and the exported SRT drops straight into Premiere Pro’s import dialog without any reformatting.

For editors handling batch projects or multilingual deliveries, Youtubetotranscript’s cloud storage keeps every transcript organized and accessible. The free tier covers basic exports; Pro plans add batch processing and priority transcription for high-volume workflows. Start with the Chrome extension and have your first SRT ready to import before your Premiere project is even open.
Useful sources
- How to add subtitles to video — Adobe Creative Cloud — Official Adobe guide covering import methods, caption track creation, and workflow best practices.
- Adobe Premiere Pro — Importing .srt file for Captioning — Step-by-step import guide from the University of Texas at Austin’s media services team.
- How to Use an SRT Caption File — UT Austin Captioning Services — Explains the SRT format structure, filename conventions, and sidecar file behavior.
- How to Add Subtitles in Adobe Premiere Pro — Motion Array — Practical tutorial covering the Captions panel import path and collaboration workflows.
FAQ
Can you add subtitles directly in Premiere Pro?
Yes. Drag an .srt file into the Project panel, then drag it onto the timeline. Premiere creates a caption track automatically with all subtitle timings intact.
How do you convert captions into graphics in Premiere Pro?
Right-click the caption track on the timeline and select Upgrade Captions to Graphics. This converts each caption clip into an individual graphic layer you can animate or reposition per shot.
How do you export an SRT file from Premiere Pro?
Open the Export dialog (Cmd/Ctrl+M), click the Captions tab, and choose Create Sidecar File with SRT as the format. Premiere exports the SRT alongside your video file.
How do you add subtitles in Premiere Pro in 2026?
The workflow is unchanged: import the .srt via File > Import or drag and drop, select Subtitle format in the Create Caption Track dialog, style via the Text panel, and export using the Captions tab in the Export dialog.
Leave a Reply